
Some of you may already know that I am a huge Harry Potter-fan. And when Hogwarts Legacy came out, I played it so much. I have played through all 4 houses and unlocked every thing that can be unlocked. I really enjoyed the game, and I wanted to cosplay from it.
I know that there’s a lot of passionate opinions in this community about whether or not HP should be boycutted because of JK Rowling’s opinions. I do understand, but I choose to separate the art from the artist. I don’t want to touch more on the subject here. If you wanna read more about my opinion on this, you can check my other blog, Hpkegle.
Back to Professor Garlick! I think she’s a fun character. She’s so cheerful and I enjoyed the quests that told more of her story. I also love the design with the cheerful colours, pretty embroideries and OF COURSE the hat!
Here’s the reference images:
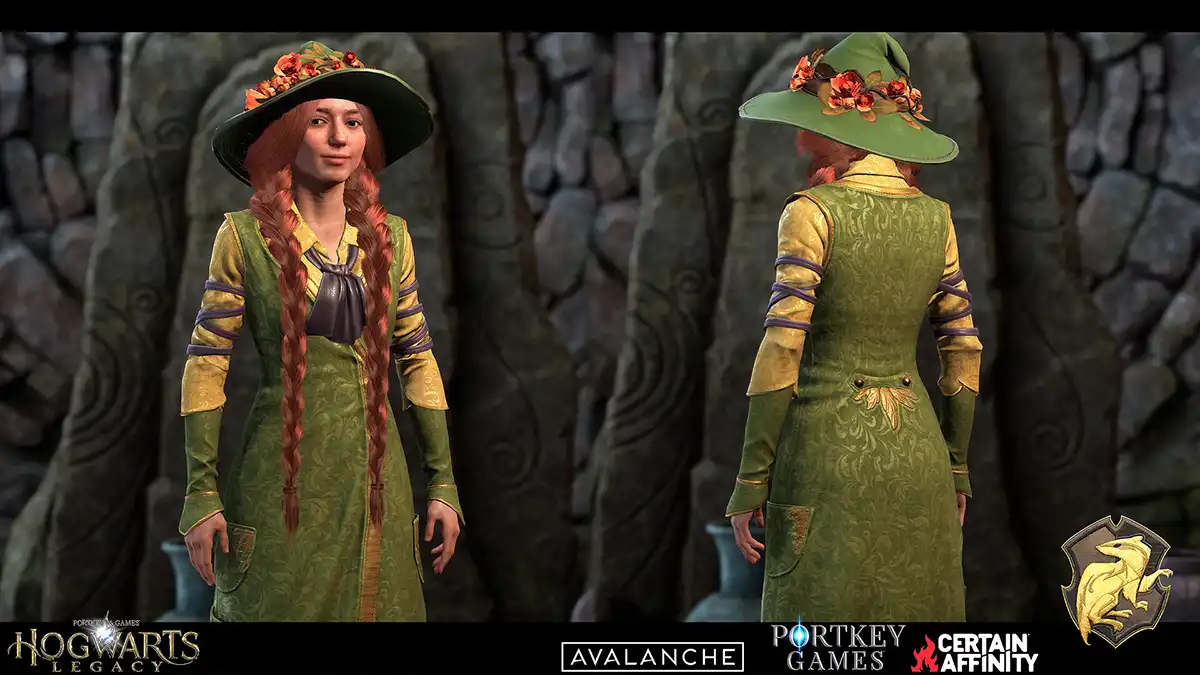
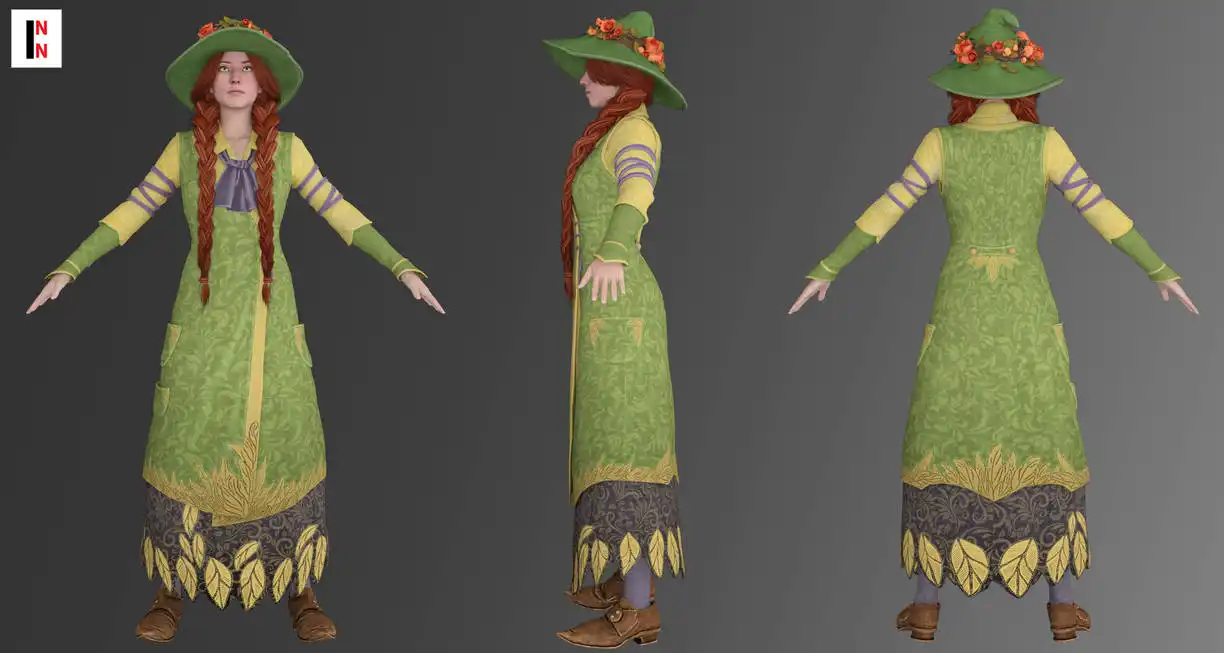
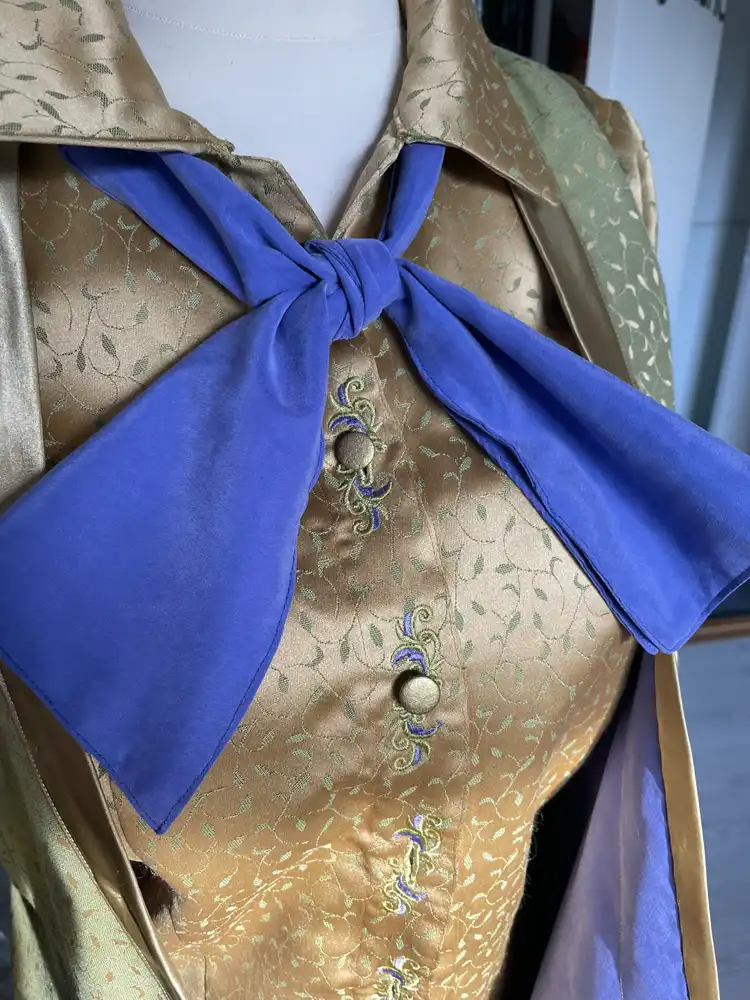
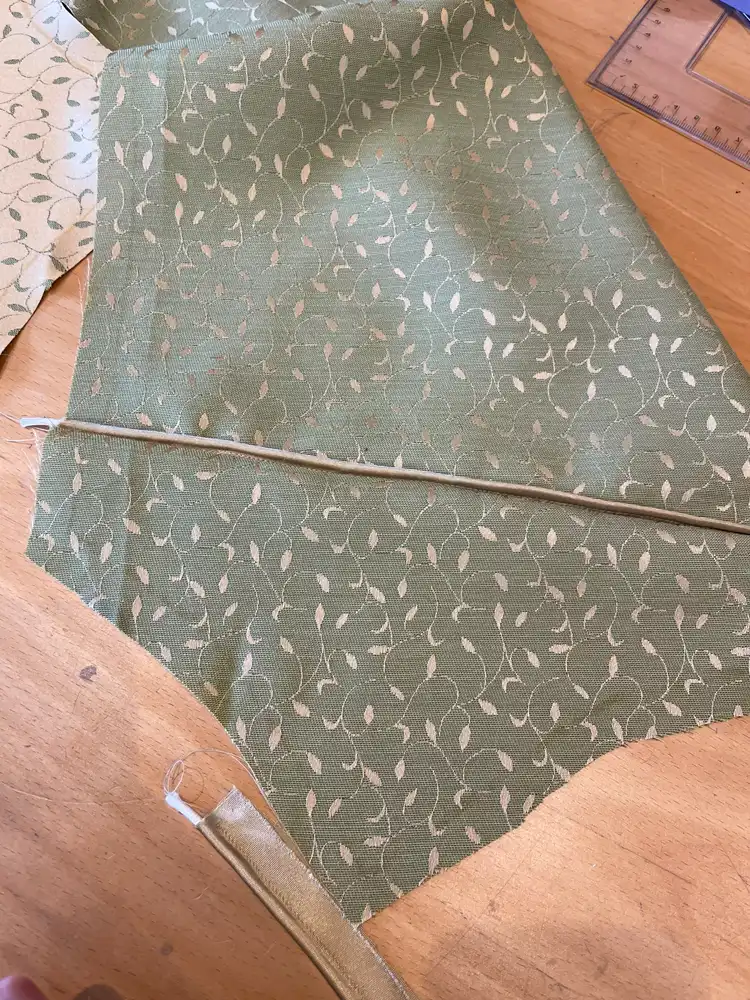
I first looked everywhere for the right fabric with no luck. I vaguely remembered having a green fabric in my stash that I bought more than a decade ago, and as it turns out, this was more or less perfect. Not completely, but I think the colour and the motive was close enough. As an added bonus, the inside of it was yellow, so I ended up just using this fabric (thank god I had so much) for both the shirt and the tunic.
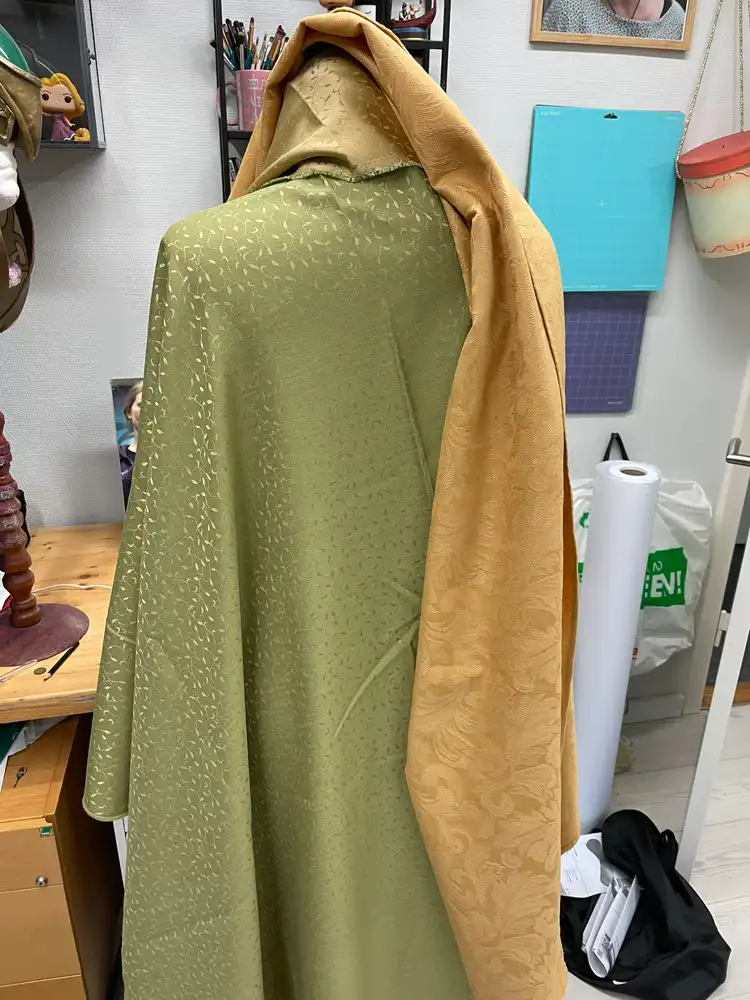
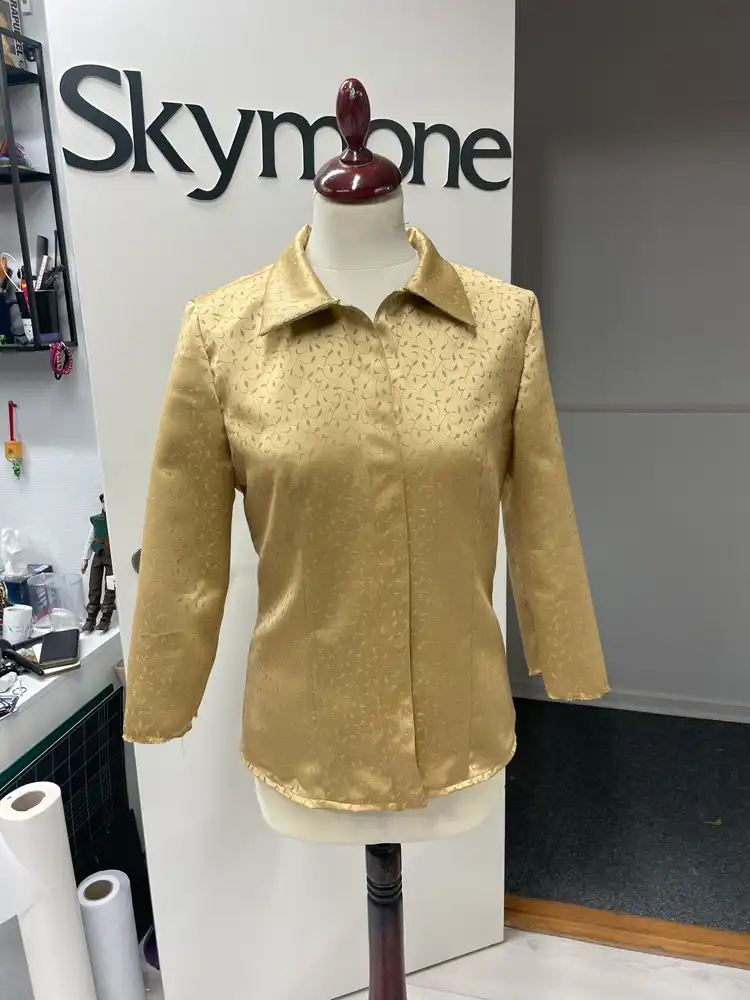
I started by making the shirt, since this was a very simple item that I could just use a pre-made pattern for. I used Burda 2561 as a base and just changed the sleeve length and nothing else, really. Shout-out to “Stof og Sy” for their youtube tutorial on how to sew a shirt – it’s in Danish and since I’ve never had much success with it before, I was happy to have a good guide.
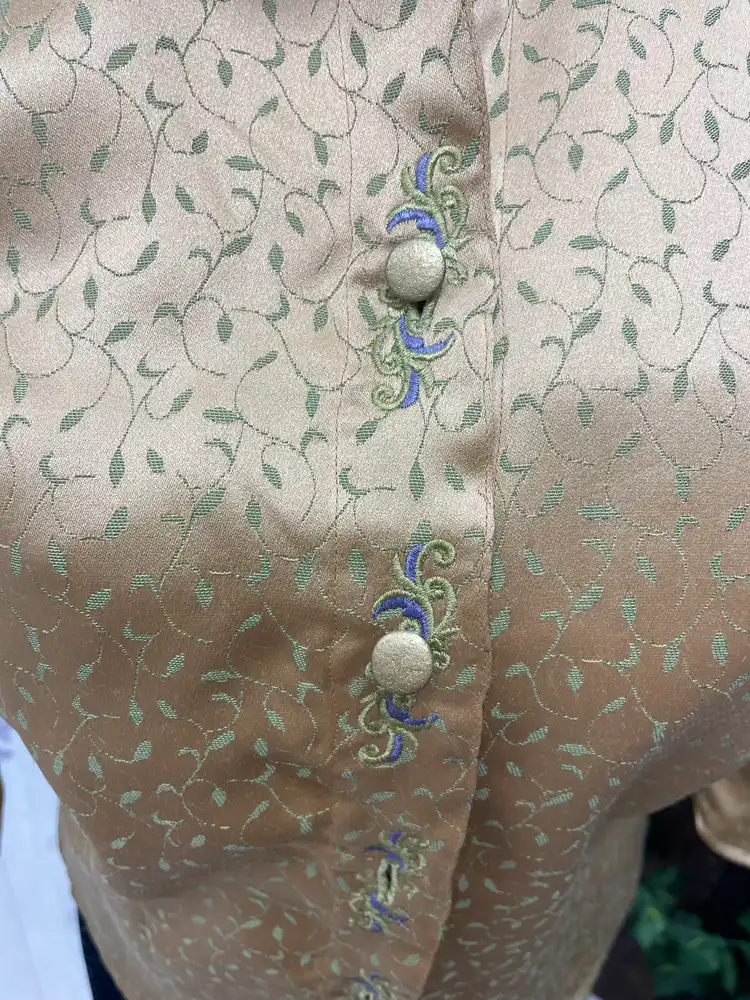
Even though no one will ever see the button holes, I used my embroidery machine to make these pretty flourishing ones.
Unfortunately, I don’t have photos from the patterning-process of the tunic. I’ll admit that when I made this project, I was in a stressful period and I was very forgetful.
I had found a pattern for a wrap-around short dress in an old 2000’s sewing magazine, which I extended, changed the neckline and sleeve style, made a mockup of and after adjusting the size, I made my final pattern. Sorry to have no better description… But honestly, the interesting parts of this cosplay is the embroidered details in my opinion, and we’re getting to those next.
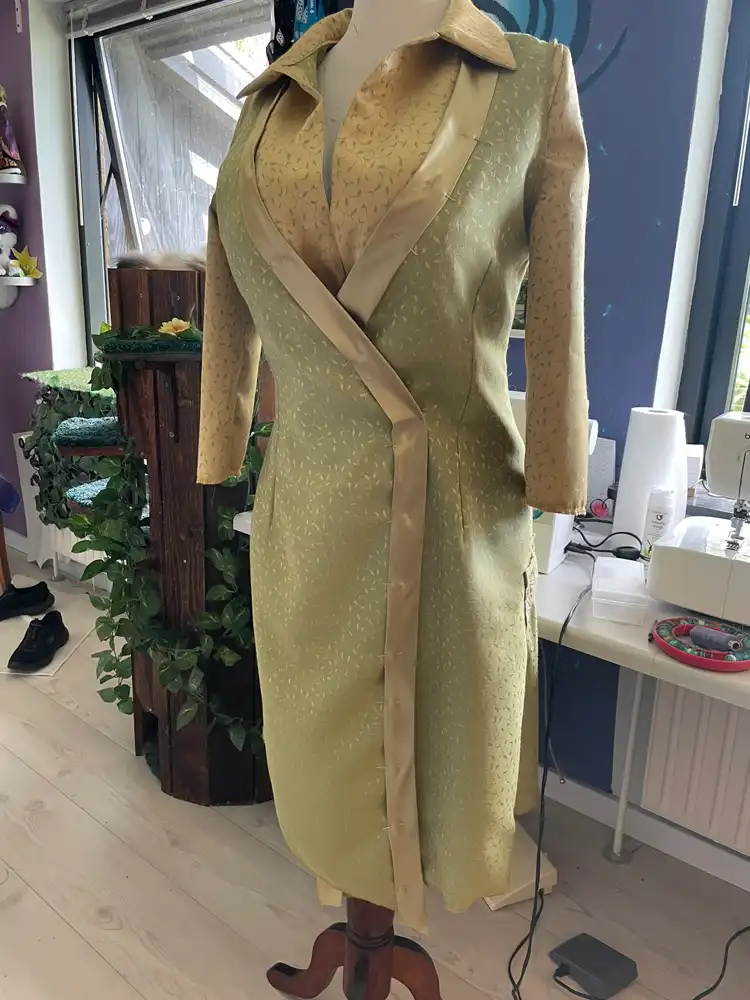
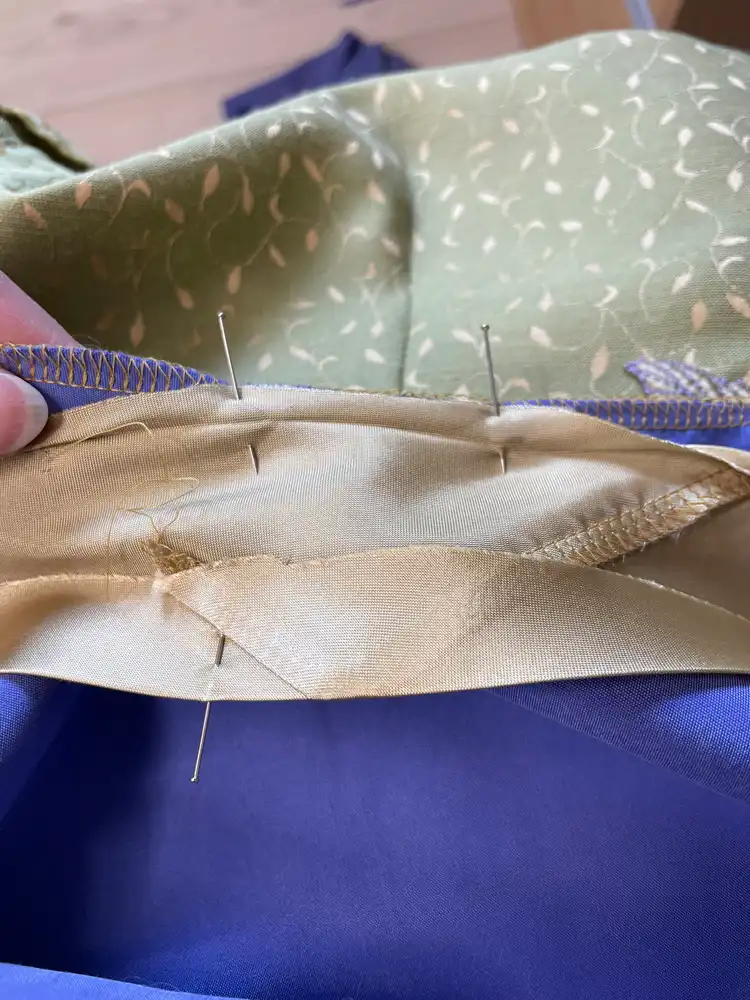
For the lining, I used the same purple fabric that I will use later for the scarf. It’s not visible, but I thought it would look good (and it does – it looks more blue in the photo than it is).
I used pale yellow satin for the wide edge, which I made by cutting on the bias and stitching strips together.
Now to the fun part: All the leaves etc. I used Hatch to make all the embroidery files for these leaves. I had to hurry, since I only have a trial version of the software, so I had to do them all within a month. Eventually, I hope to buy the software, but for the amount I use it, I think it’s a bit too pricy.
For the yellow leaves on the tunic, I used a heavy tear-away stabilizer as the base, added batting on top then my yellow satin fabric. I used pins to hold the layers together and only hooped the stabilizer. The batting gave a nice 3D effect to the leaves. I cut them out manually and used a candle to burn around the edges (a soldering iron would have been better, but I broke mine and my husband’s is too fancy for this kind of job).
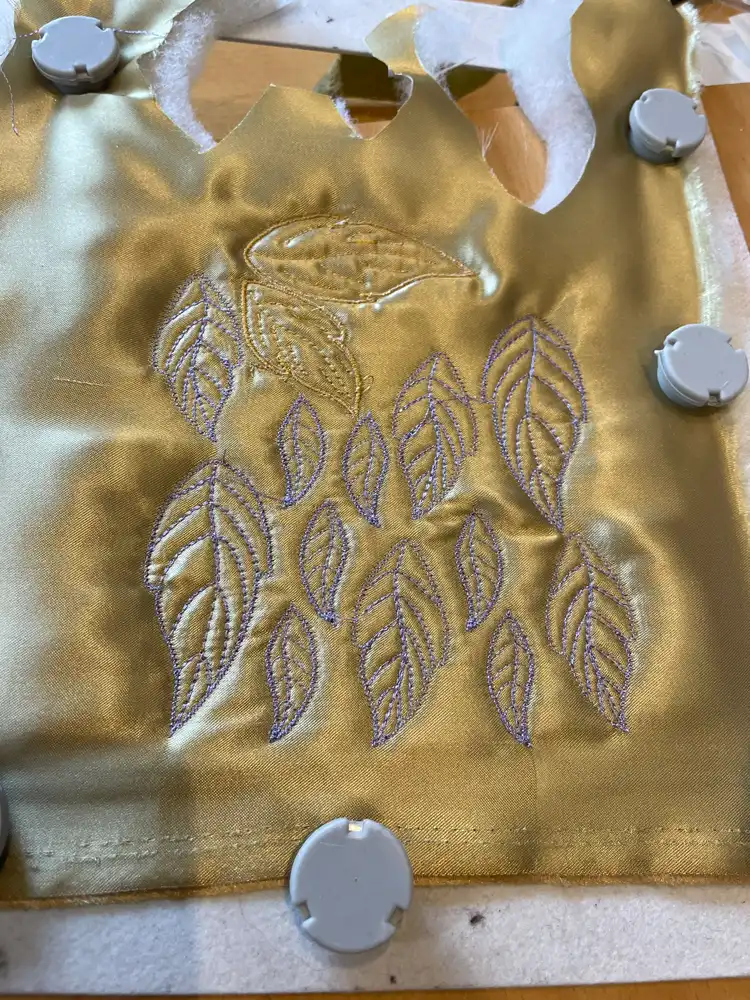
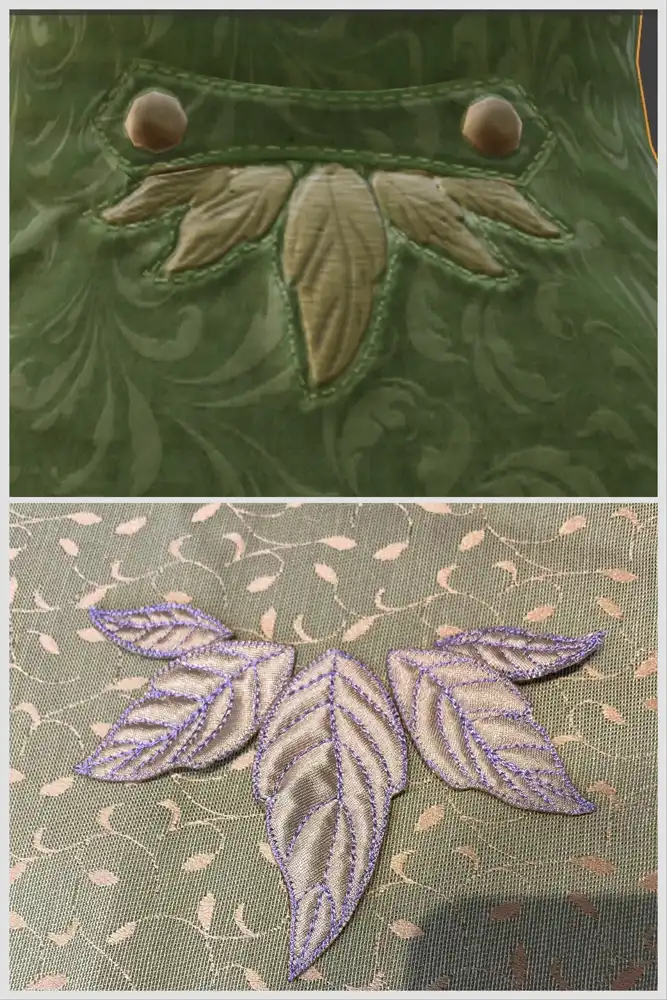
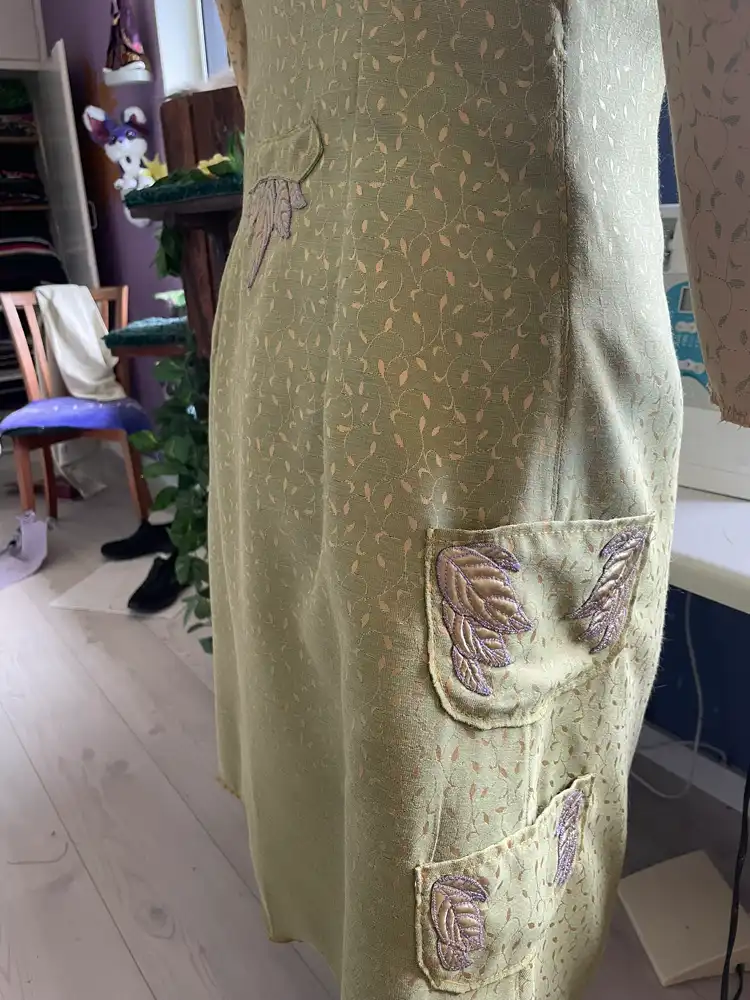
I did the same with the leaves for the pockets. All leaves are handstitched on
For the leaves on the bottom edge, I first made a bunch of paper leaves, so I could get the shapes and sizes right. Then I made embroidery files for each one of these
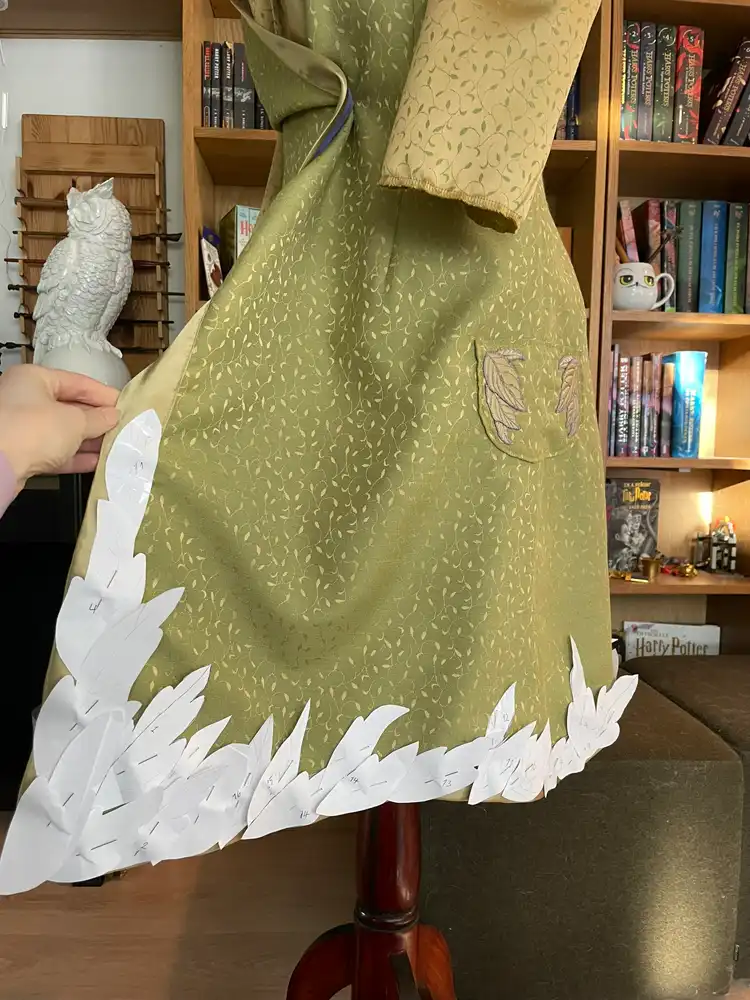
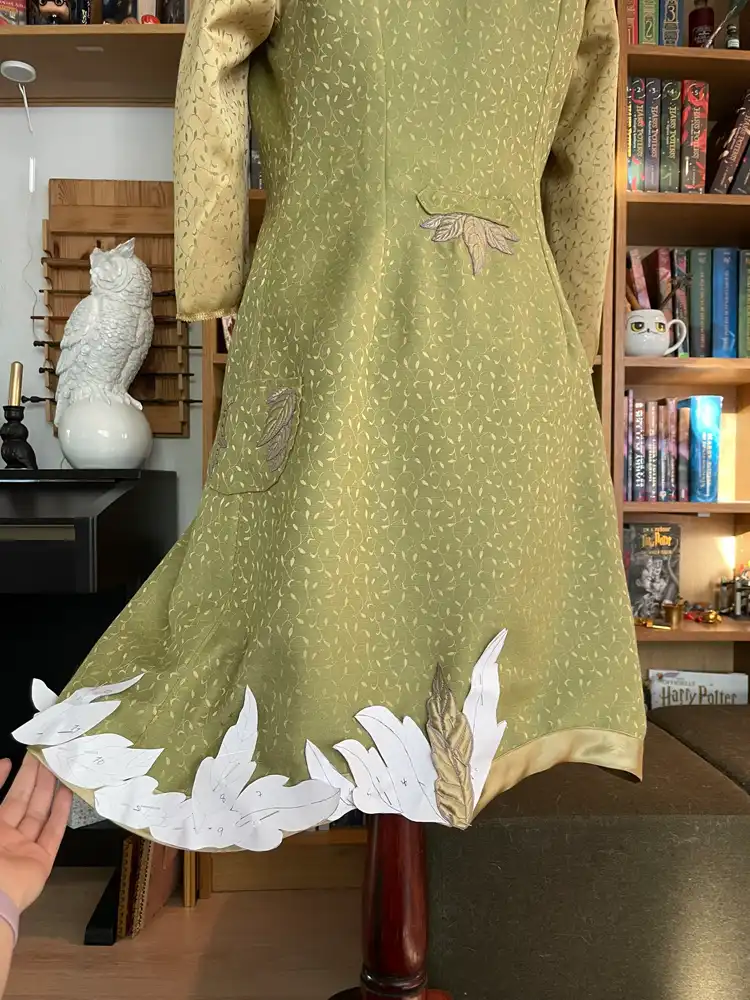
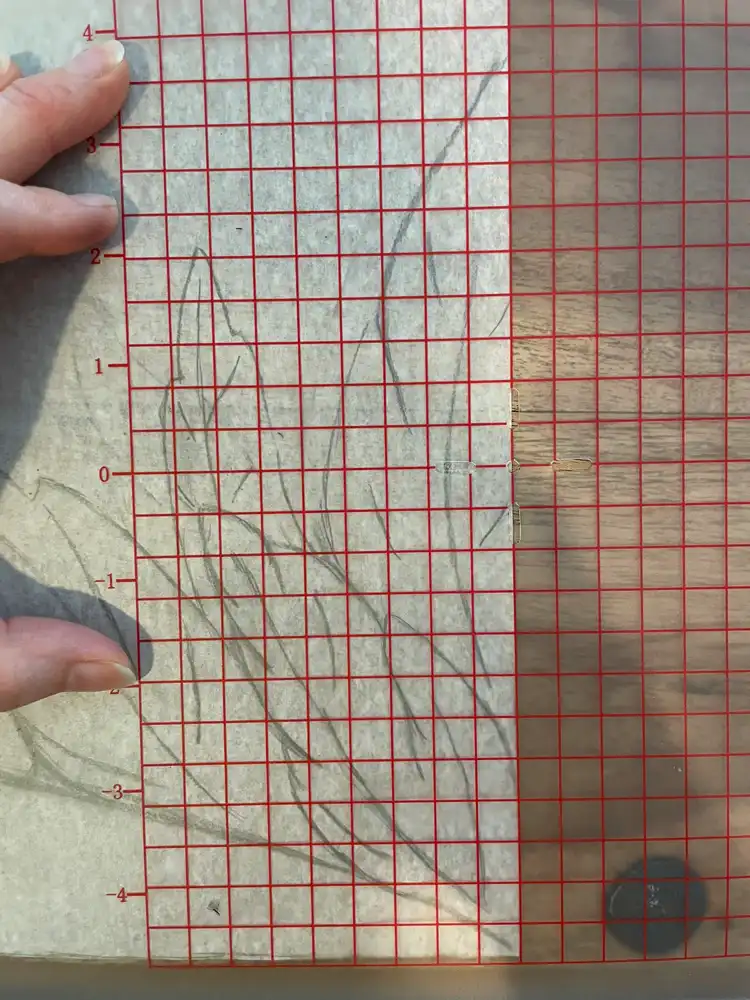
To transfer the sizes and shapes of my paper leaves, I photographed them on a mat that had a cm grid, so I would know the size and could correct for lens distortion on my computer. I can’t find all the actual photos, but hopefully this one explains what I mean.
Then I let the machine do the work, again with the stabilizer, batting and satin. I just dod as many as I could per hoop and cut them out and singed the edges to prevent fraying afterwards.
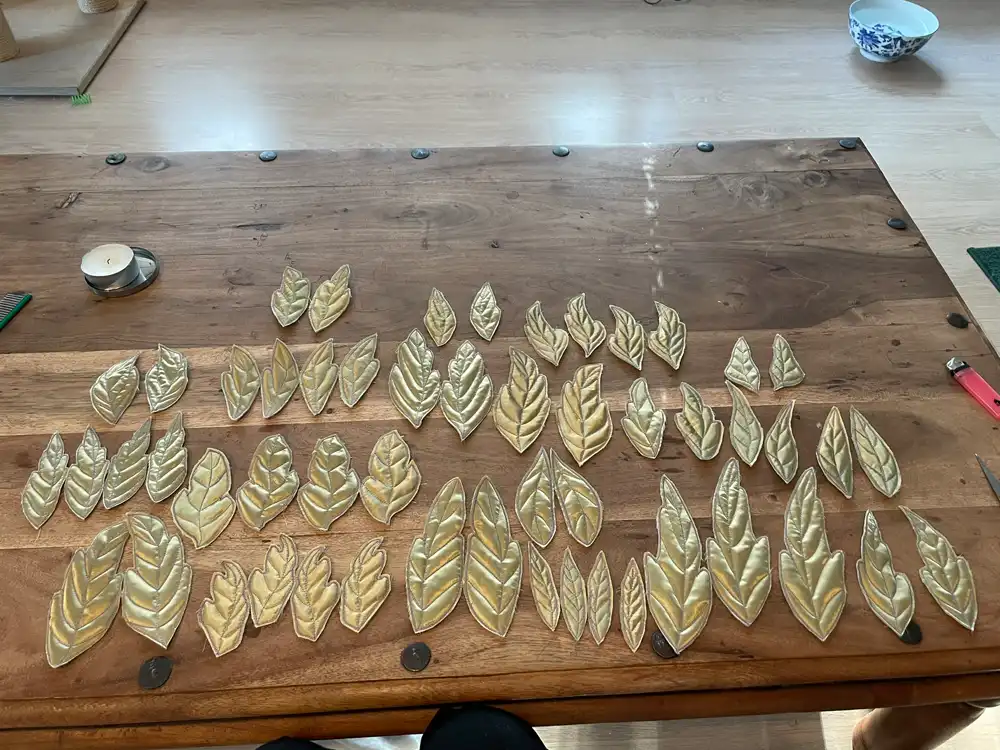
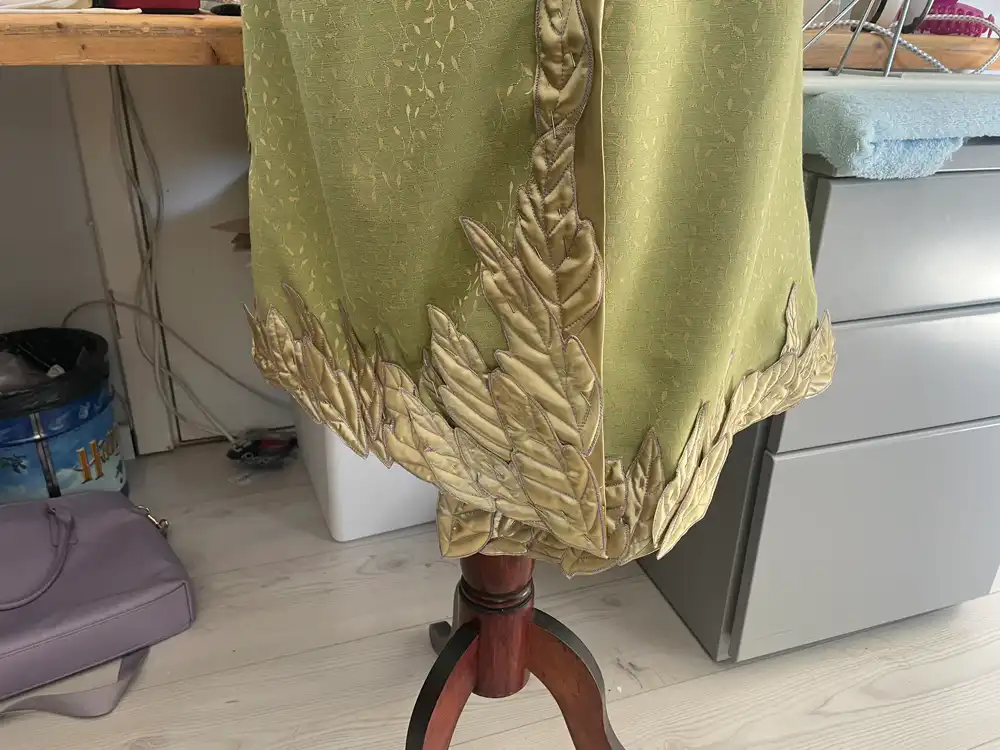
I handstitched them all on, careful not to go through the lining. I had to do it in this order, because some of the leaves are on top of the ribbon that is covering the seam between the front fabric and the lining. It was fiddly work that took a lot of time, but I enjoyed the process and I’m really happy with the result.
Next, I worked on the skirt. It’s a fairly simple A-line skirt. I found some nice blue fabric with silvery swirls. It doesn’t look exactly like reference, but I think it looks close enough and it’s nice and comfy with a bit of stretch. I just made an elastic waistband, because I find that most comfortable and no one will see. Also, it has pockets for my phone, yay! 😀
The image here is my mockup and the mockup of the leaves I did – this time I just measured the width of the skirt where I would be placing the leaves and drew them straight on my computer instead of by hand, so it would be easier to digitize later. I printed them all out to see how it looked (sorry, my printer ran out of black ink, so they’re pink).
Once satisfied with the size and shape, I also started on embroidery of these.
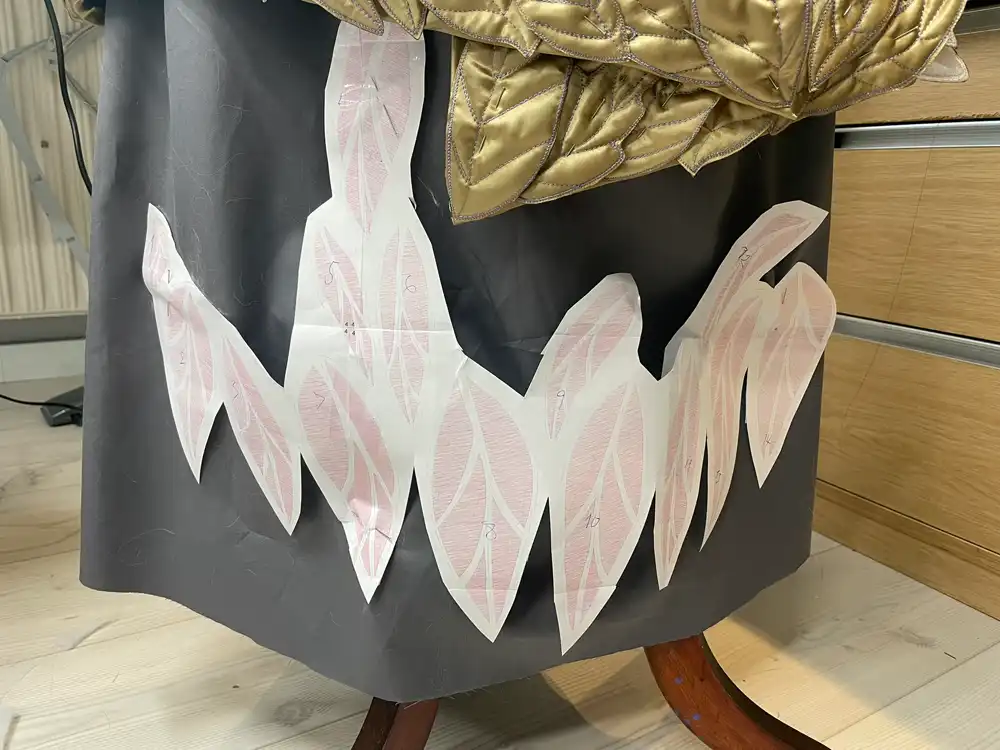
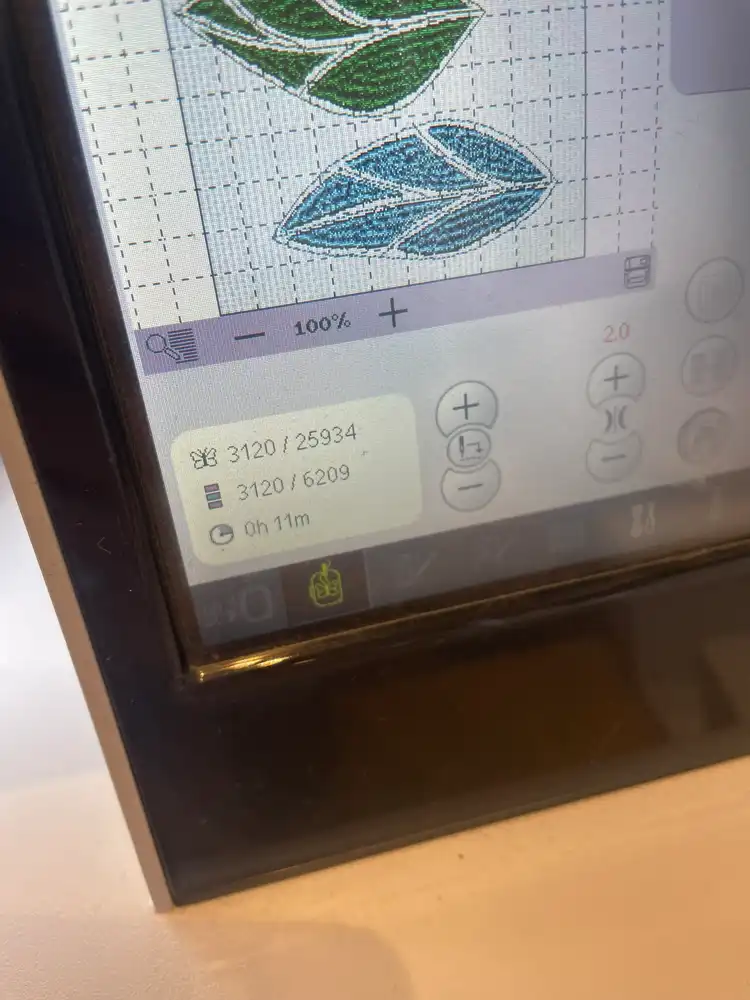
Since these leaves were quite big, I could only fit a few at a time on my embroidery machine, despite it having a quite large stitch area (I think my biggest hoop is 360x200mm)
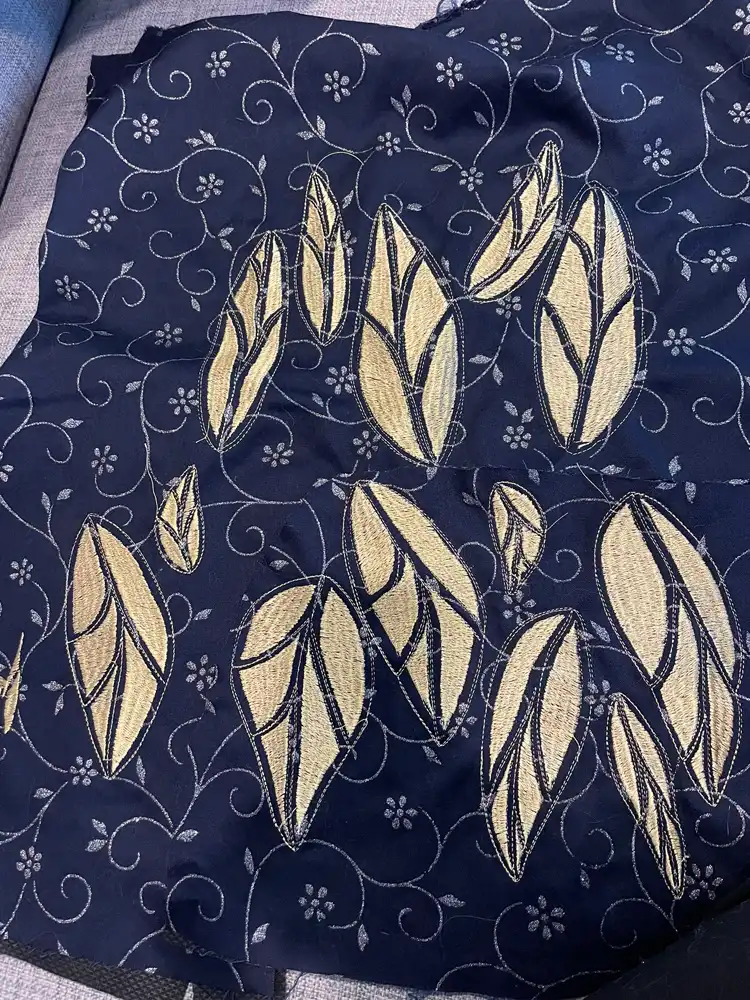
I considered stitching them straight onto the skirt, but since they make up the lower edge of the skirt, I was worried I would have trouble with turning the skirt later when I was lining it. So instead, I embroidered them all on the same fabric that I was using for the skirt and hand-stitched them on individually last.
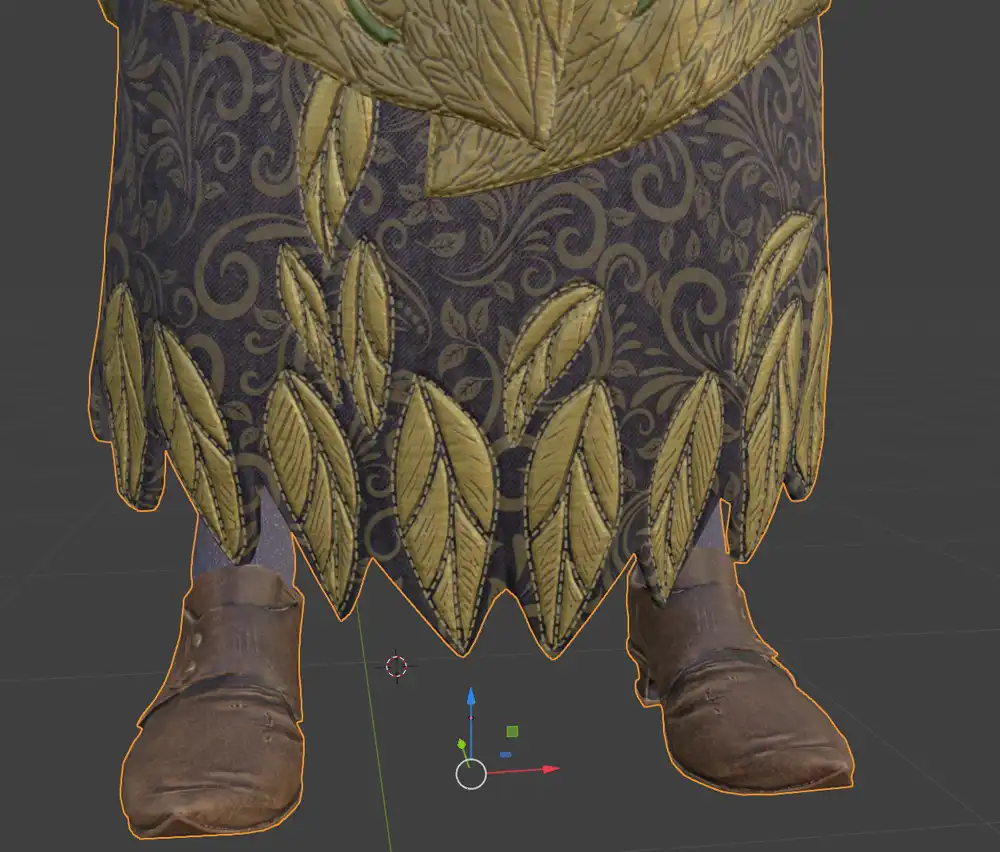
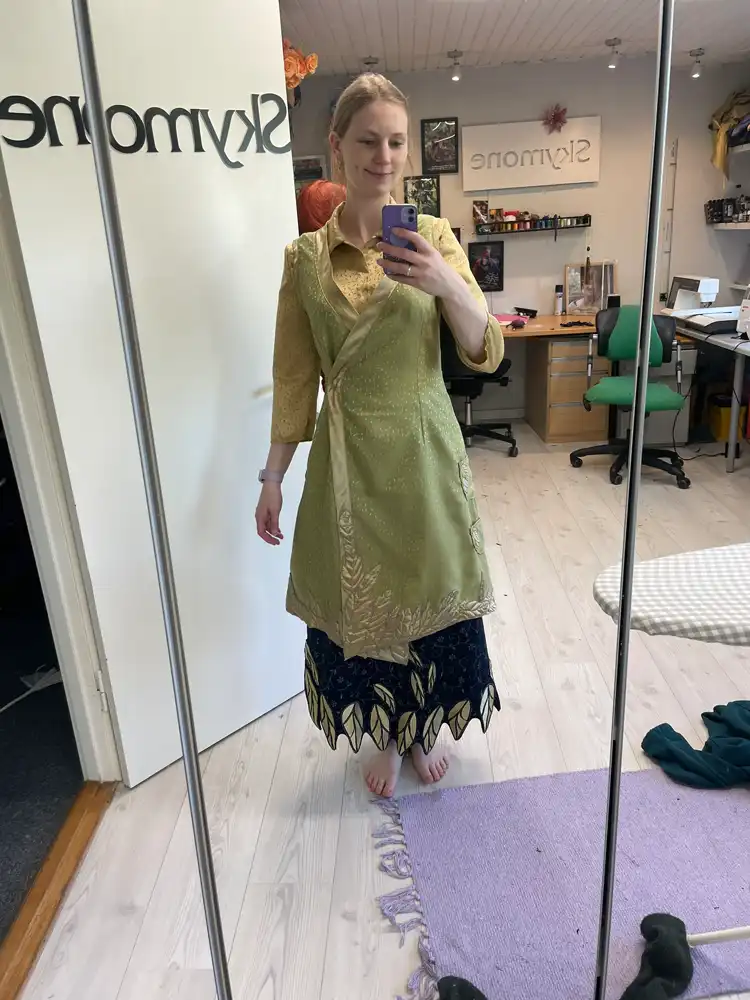
This reference shows a bit better what I meant witht he lower edge – I think my skirt turned out pretty close to reference!
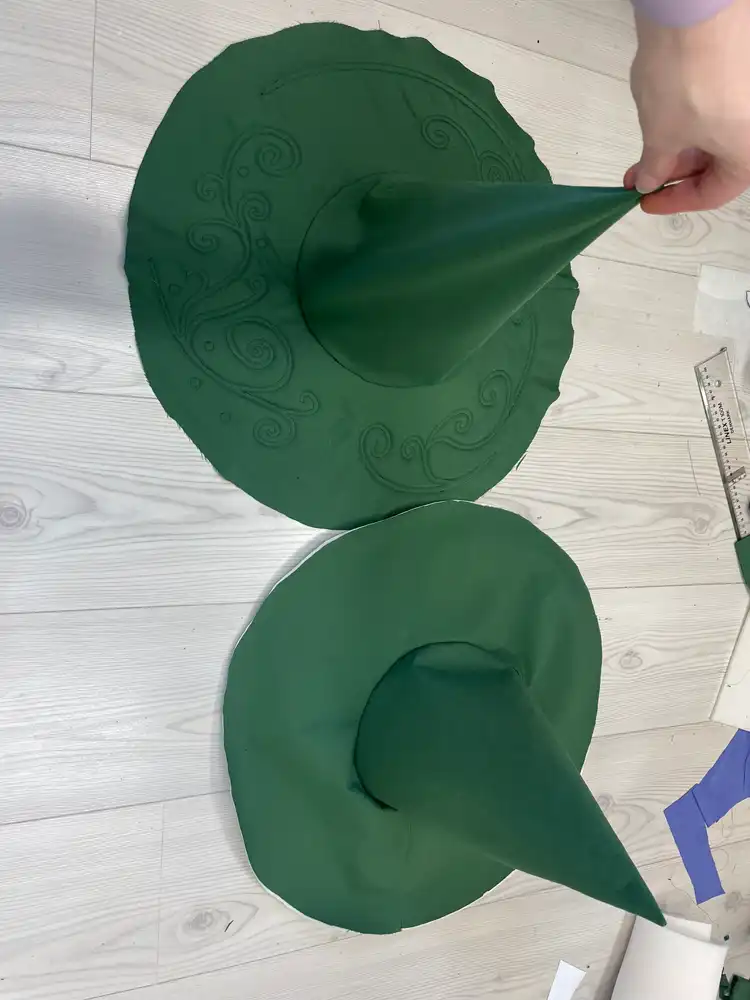
I was saving the hat for last. I feel it’s one of the most important parts of this cosplay, and I haven’t really made a proper witch hat before. After watching a few tutorials, I finally made a pattern. It was a bit of a math lesson, but I succeeded in the end.
Funny enough, the hat is WAY to big for me if I wear it without a wig (falls down to my nose), but with a wig, it’s almost too small. But only almost!
The underside of the brim has a swirly pattern, and I know most people never noticed and wouldn’t notice if I didn’t add it, but I thought it would be a nice challenge. I painted the pattern on my computer and once again digitized it for embroidery. I know this part could’ve easily been made on a regular sewing machine, but I wanted to challenge myself with this project and get better at using my embroidery machine, so that’s what I did.
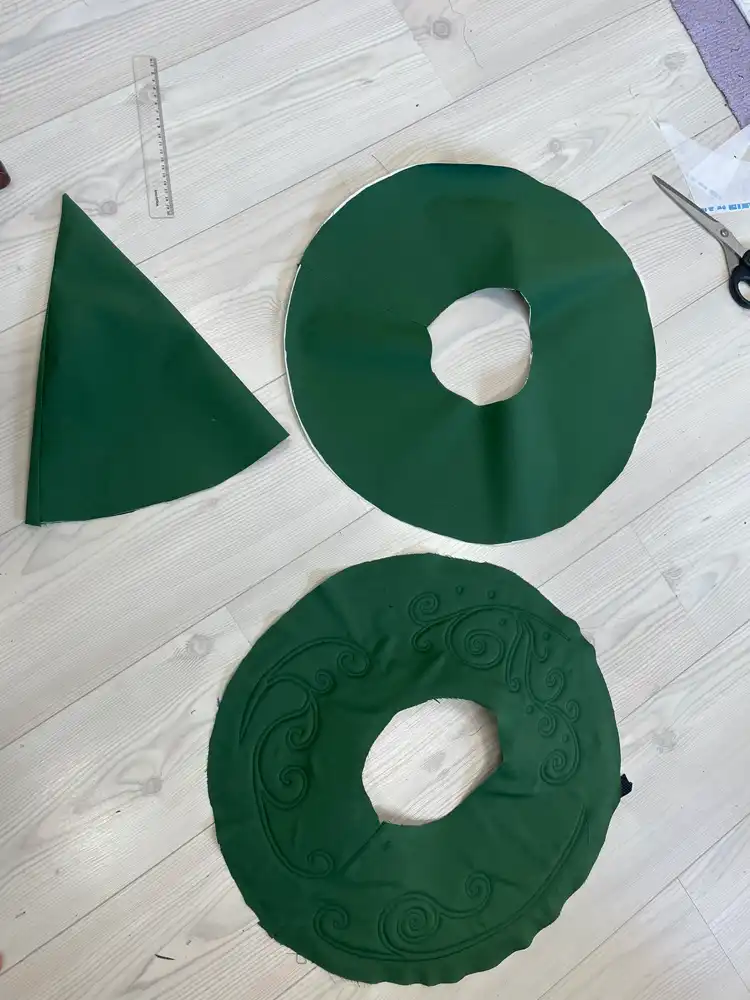
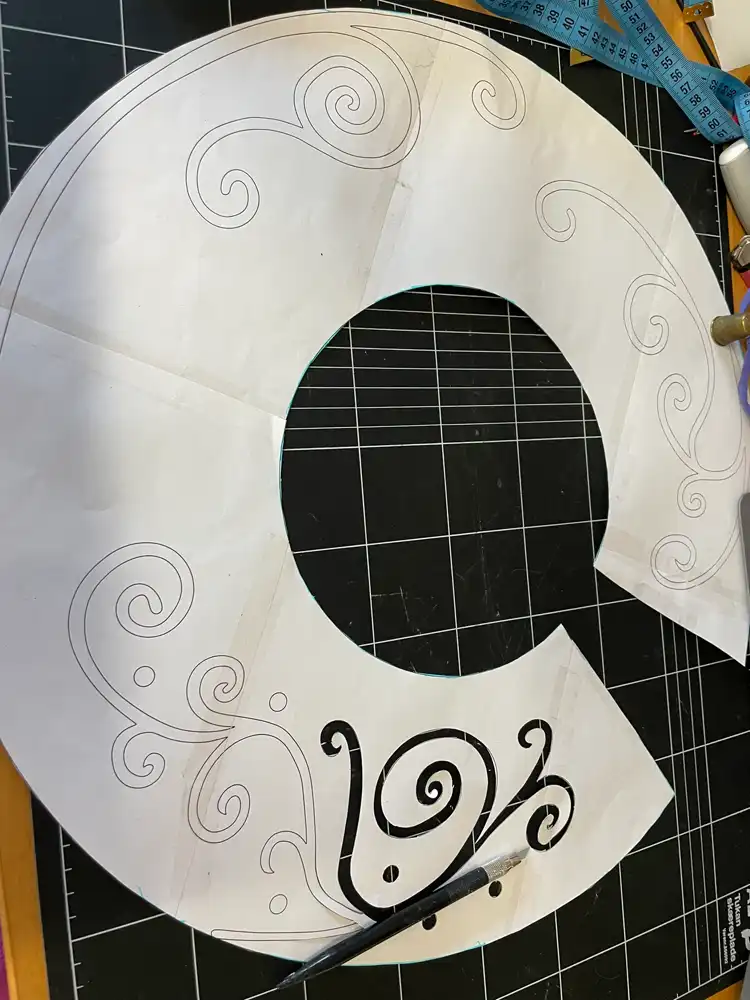
To give the brim structure and stiffness and to really get that 3D effect, I used Vlieseline Style-Vil, which is a 5mm thick foam-based batting material. It’s a bit stiffer and more structured than regular batting and was just right for this purpose. I only hooped the stabilizer (medium weight cut-away) and the other parts I pinned to it.
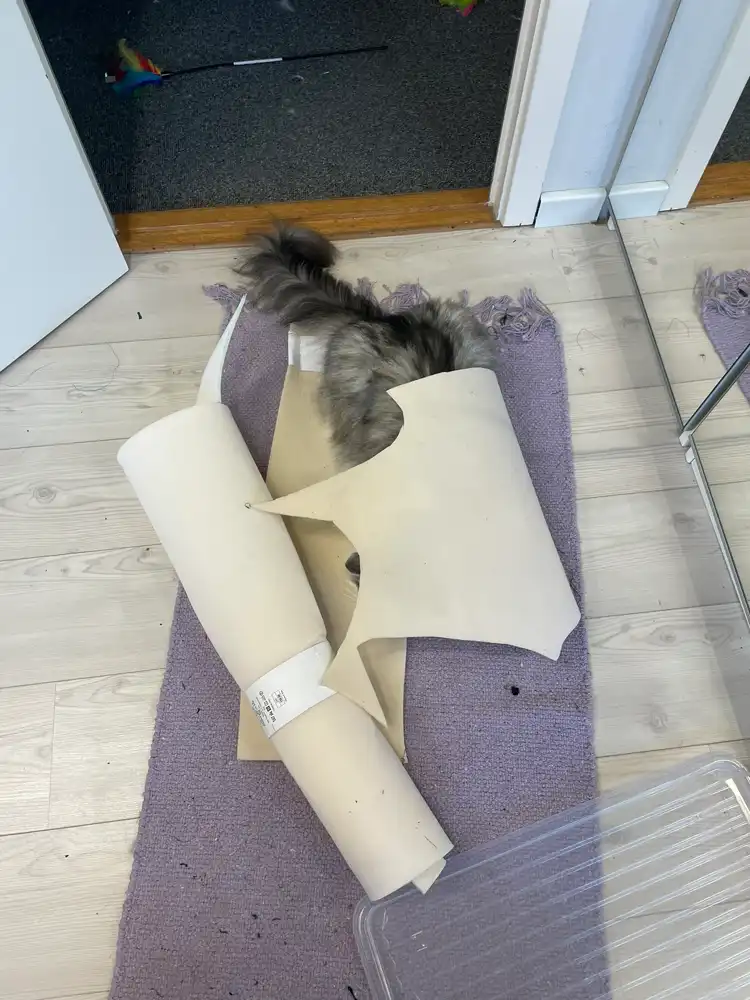
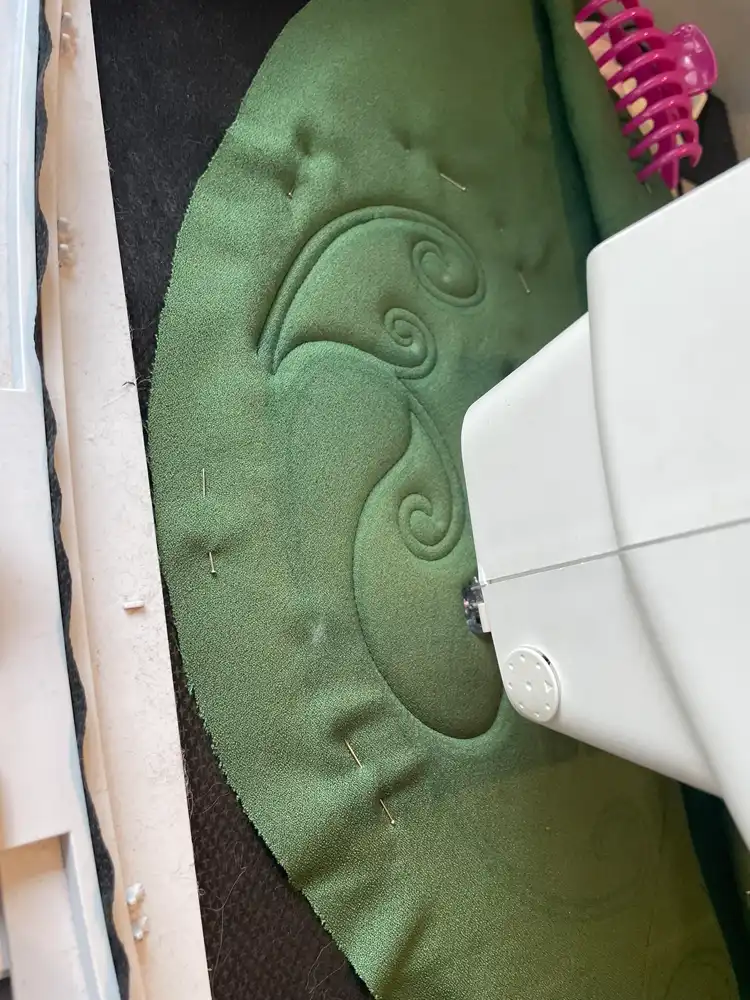
I basically made two hats and put into each other to get a nice lining. I thought the top could use a bit more body (since her hat folds a bit down, but doesn’t lay flat), so I added some pillow stuffing between the two layers in the tip of the hat, so I later could shape it better.
I felt that even with the embroidery, the pattern inside the had was not as visible as I had hoped, so I airbrushed the edges a bit darker to make them stand out more. I think it looks really good like that!
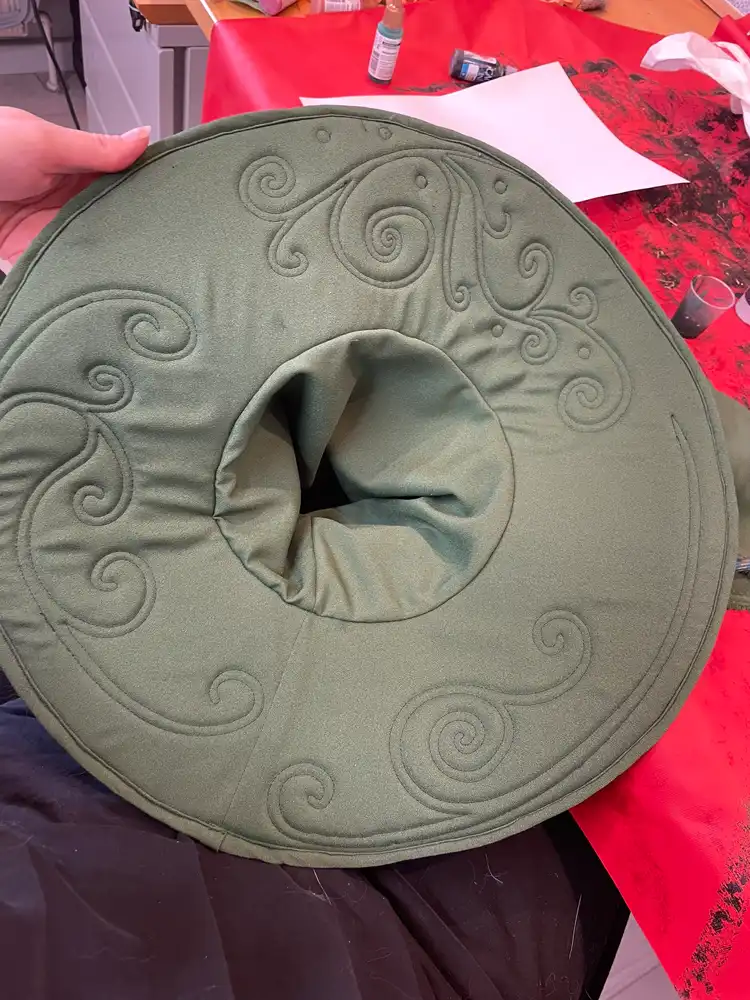
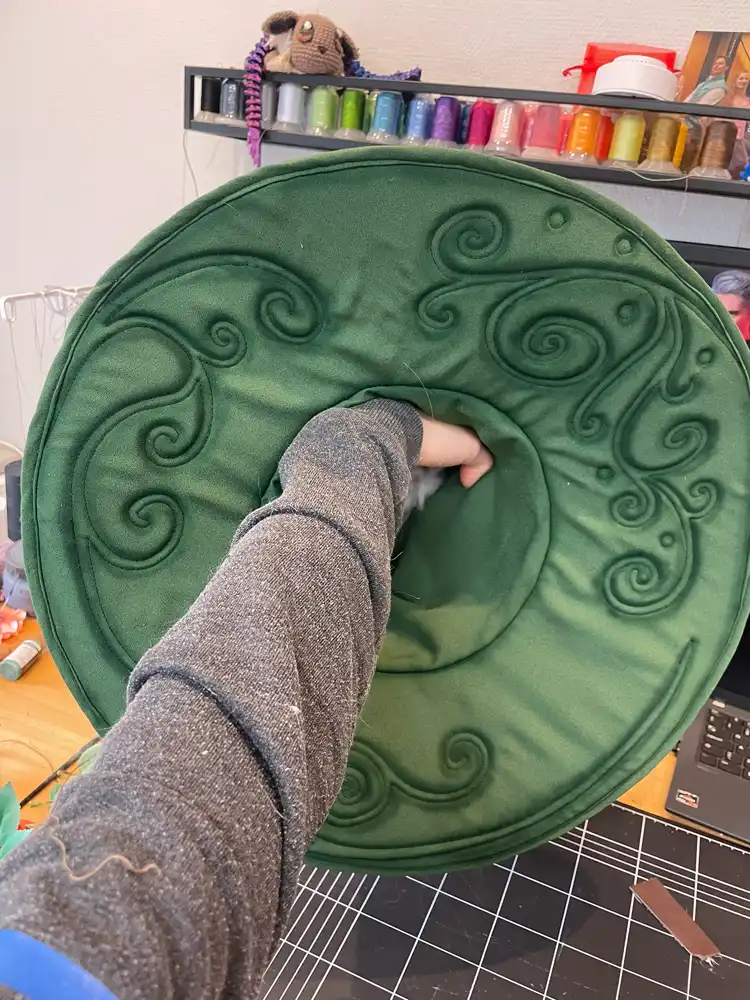
I also airbrushed the leather strip I added around the hat. I used real leather for this.
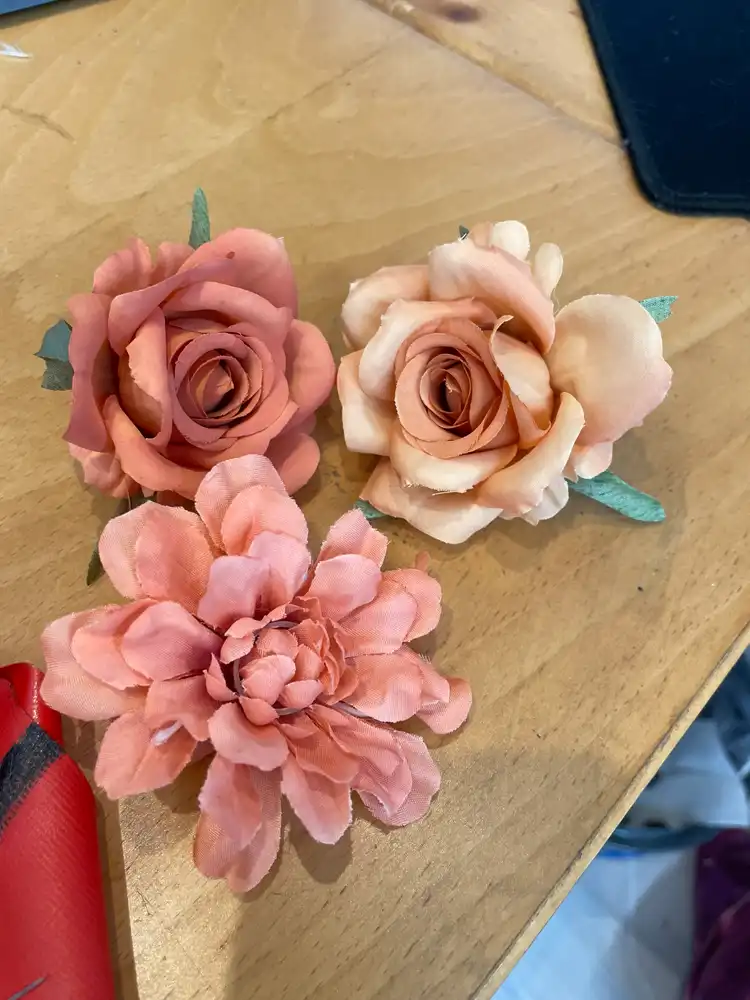
And I airbrushed some plastic flowers, since I couldn’t find the exact right shade I needed. The flowers themselves were a mix of AliExpress and second hand finds from a while ago – sometimes being a material hoarder pays off!
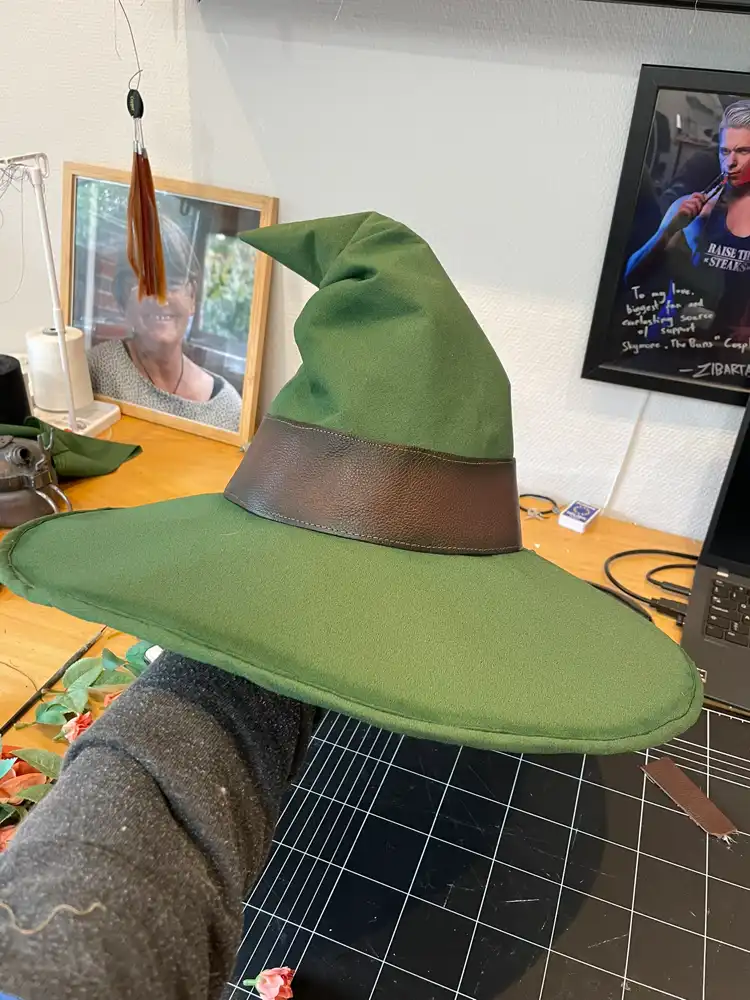
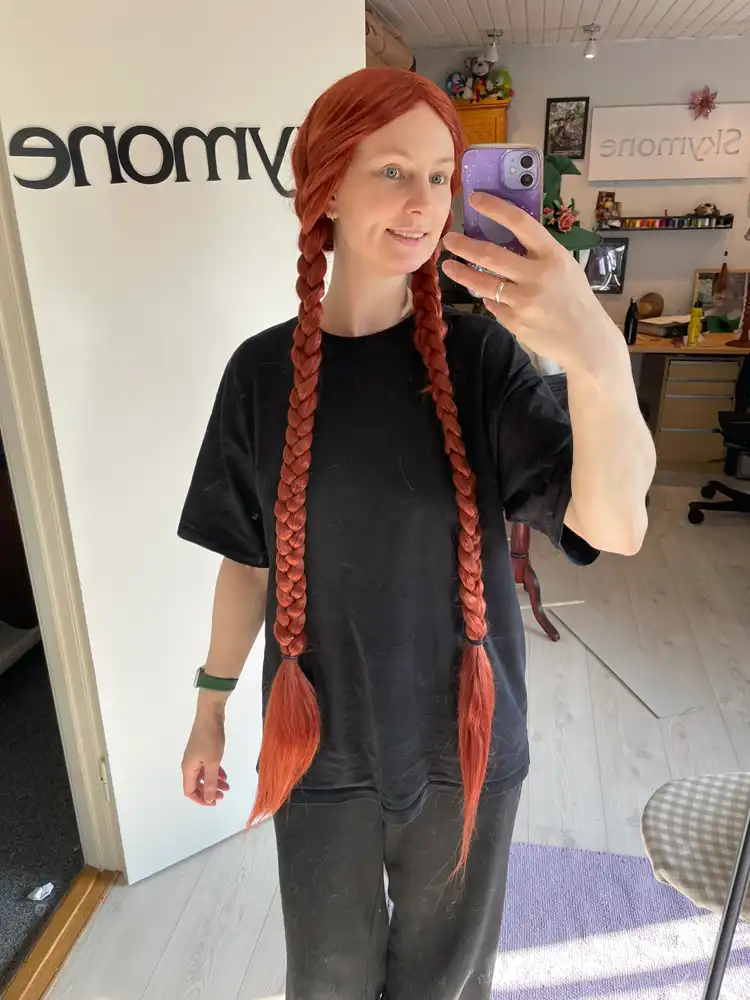
I won’t offend anyone by pretending I know how to style a wig. I used a wig from Coscraft – Genji in the colour “Copper”. I first crimped it a lot, then did my best braiding it. Luckily most of the top will be covered by the hat, so you can’t see how bad it is 😀
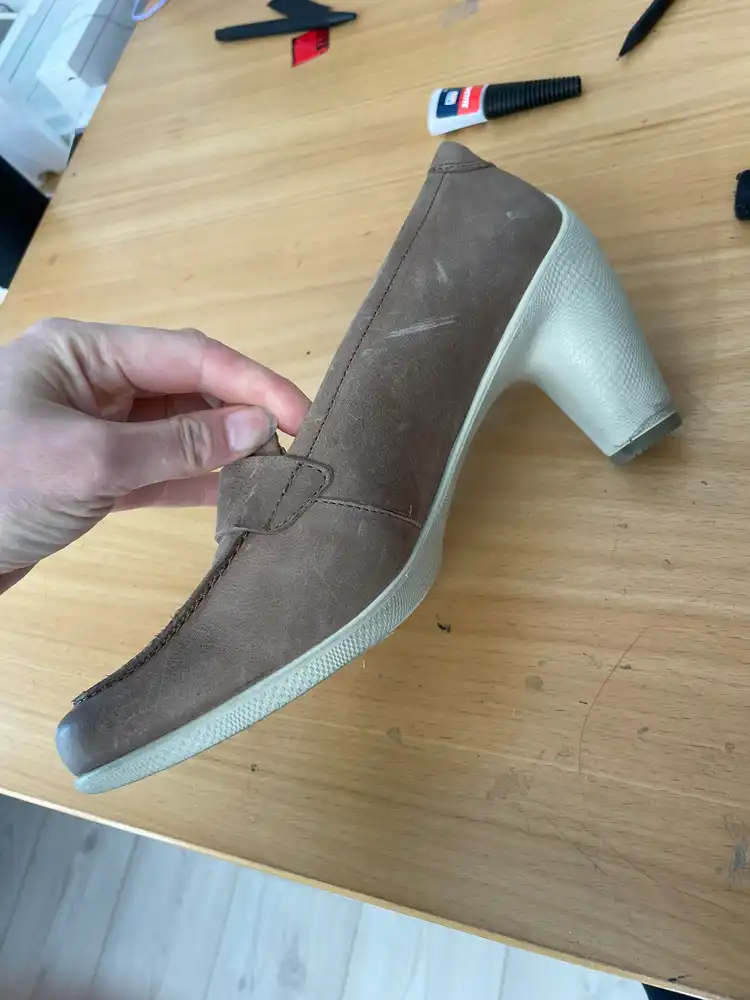
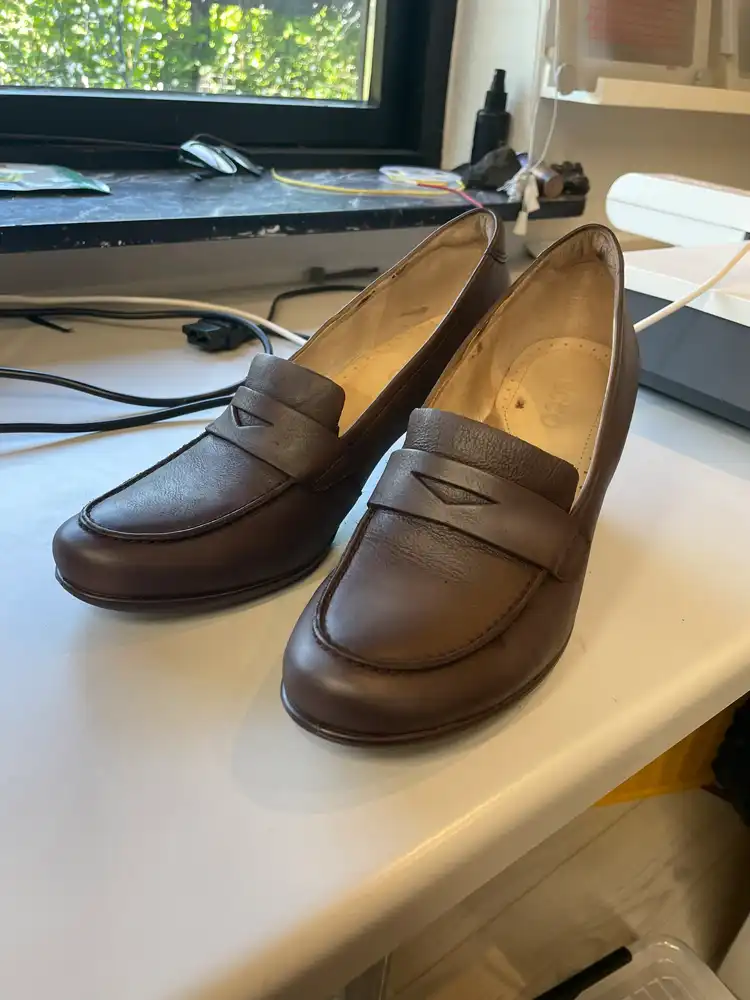
I also couldn’t find the right shoes, even though I looked everywhere. In the end I got lucky finding these comfy Ecco ones at a flea market and painted them with Angulus leather paint, then airbrushed some sharing on them, so they’d look a bit more worn.
I added the last details – the “gloves”/oversleeves, which are quite simple and attach with snap buttons on the shirt.
The scarf – which is more or less just a square. And the strips around the sleeves (not pictured) which are just stitched in place by hand in a few places, so I don’t need to tie them on every time.
I bought the socks (just knee-length grey ones) and I use a basket with some leftover flowers and leaves from the hat as my bag when I wear it.
And that was it!
I’m really happy how it turned out! It’s fun and comfy to wear! Sadly I haven’t worn it much, because I still feel like the Harry Potter universe gets so much hate and I don’t want to start negative discussions at conventions. But I feel quite magical and whimsical in this cosplay!
